If the file is not one you have created, then when you bring it into photoshop you need to set you white and black points on the file. To do this you need to click Image/Adjustments/Levels from the menu bar.
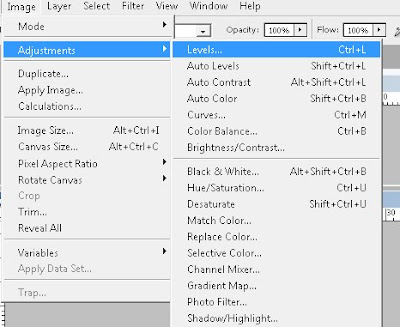
To set the black point click your Black Point dropper.
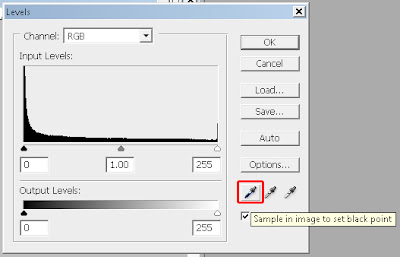
Select and click on a part of the Grunge Frame you want to be black.
To set the white point click your White Point dropper.
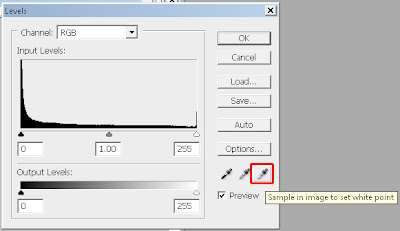
Select and click on a part of the Grunge Frame you want to be white.
Once you have your Grunge Frame ready for use you press CTRL+A to select it. CTRL+C to copy it.
Open the image you wish to use the edge file on and once it opens in photoshop paste the Grunge Frame on top of the image by pressing CTRL+V.
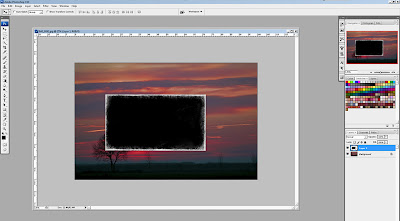
If the Grunge Frame is too small or too large for the image underneath then we need to change the size of the edge file. To do this press CTRL+T to bring up the free transform tool. Then drag the handles of the Grunge Frame to cover the whole of the image file. Once you get it the way you want press Enter on your keyboard.
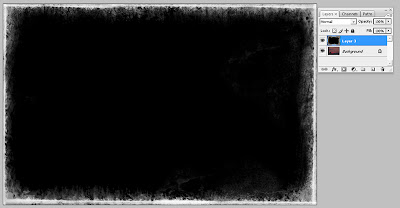
Now all we need to change is the blend mode of the top layer to display our image underneath. As the primary colour of the Grunge File is black we want everything that is black to be ignored from the top layer. To do this select the Screen Blend Mode.
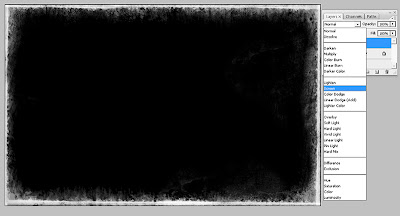
When the Blend Mode is Changed to Screen.
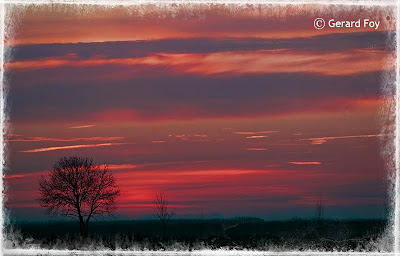
Pretty Cool!
But what if we want black out the outside the what on the inside? Well its very easy. Select everything in the upper layer (our edge layer) by pressing CTRL+A on the keyboard. When everything is selected press CTRL+I on the keyboard.
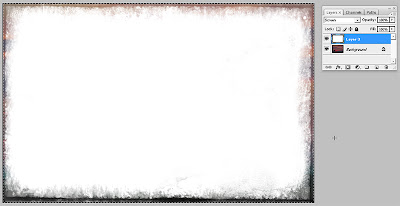
Again we are going to change the Blend Mode of the upper layer to ignore the white letting the image underneath appear. Set the Blend Mode of the upper layer to Multiply.
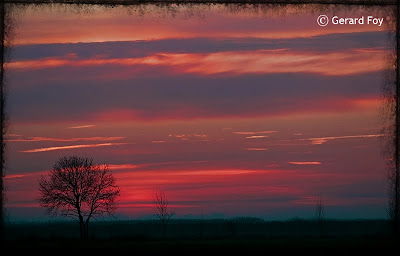
So there you have it. With every Grunge Frame you create you get one for Free, just invert the layer the change the blend mode, it couldn't be easier.
Click Here to download your free High Res Grunge Frame.
Article including images copyright of Gerard Foy Photography.
www.gerardfoy.com

4 comments:
I kind of used this technique with my bride picture. Love the way you call it the Grunge technique. :)
Thanks Micki
Thanks for that tutorial. Just been surfing the web trying to locate good grunge frame ideas as i'm a keen photography graduate and do fine art photography sometimes for a Hobby (though currently lacking the confidence to strike out for a career). What started me off on the frame thing was a cool app for my HTC Desire called Vingnette that reminded me off my dark room days and I then wanted to recreate its effects on my Mac with PS. This is my second excellent find and I think I'm getting the hang of the concept now. Thanks again
Fluttershutter,
Thanks for your comment and I hope at this stage you are flying with this technique (wow almost a year)..
Post a Comment