Wednesday, October 19, 2011

Entries for the Black and White Club Competition

Here are my entries for the Black and White club competition. I'll let you know how I get on.


Saturday, October 15, 2011

Old Wreck, Baltray Co. Louth - Second Trip


Well I went back up to the old wreck on Baltry beach. The weather wasn't really playing ball. I have a couple of photos in mind here but have not got what I'm after yet. Knowing the way the weather works I could end up with a lot of shots of this boat before I end up getting what I'm after.


This one below is a 5 minute exposure before the sun came up..I'm always amazed the colours the camera can pull out of an image, to my eye the colours in this image where not there so it was a bit of a surprise to see the camera get an exposure like this.

Thursday, October 13, 2011

Book Recommendation

I have just finished reading The Art of Photography: An Approach to Personal Expression by Bruce Barnbaum.
I'm a photographer not a writer so I'm not going to even attempt an in-depth review.
I would however like to say I found it a very uplifting experience to read, leading me look upon myself, my world and my art in a totally different way.
It is by far the most powerful book on photography I have ever read and I would recommend it to anyone interested in photography.

I have included a link to Amazon here.

Another image style using channels

This post is a slight deviation from my previous post with a different end result. For simplicity I will start at the beginning again.

1. Open your image in Photoshop.
2. Click the Channels Tab.


3. Hold down the CTRL key and single click on the RGB channel, this will load the luminosity as a selection.
4. Press the "Create New Channel" icon on the bottom of the Channels dialog - this will create a new Channel "Alpha 1".
5. Set your background colour to white and press CTRL+DEL a few times to fill the selection with white.
6. Select your brush tool and set your foreground colour to White.
7. Press CTRL+D to deselect the selection.
8. Paint white on all the areas you would like to be white in the final image.


9. Press CTRL+I to invert the channel and then double click on it to load it as a selection.


10. Select the Marque Tool from the toolbox and with the Alpha Channel selected move the selection into the new document where you want the background (you can move it when the little rectangle is displayed).

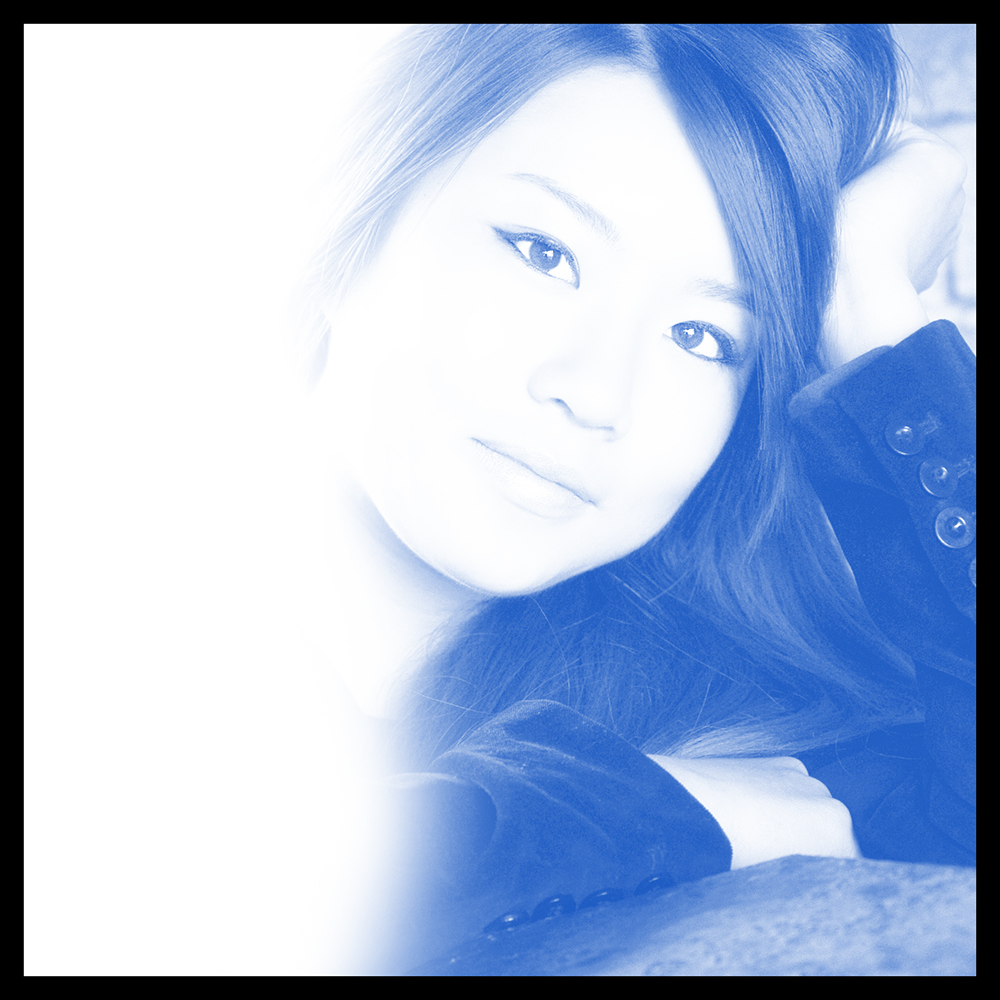
11. Create a new Layer and select a foreground colour you would like to use, I'm using a dark blue. Press ALT+DEL to fill the selection with the colour.


Wednesday, October 12, 2011

Create a High-Key Page Background

Here is a nice technique for creating a faded image for a background. This technique can be used in design when you want an image to break up a boring background or for any other reason you can think of really..

1. Open your image in Photoshop.
2. Click the Channels Tab.


3. Hold down the CTRL key and single click on the RGB channel, this will load the luminosity as a selection.
4. Press the "Create New Channel" icon on the bottom of the Channels dialog - this will create a new Channel "Alpha 1".
5. With the new Channel "Alpha 1" selected white as your background colour and press CTRL+DEL a few times to fill the selection with white.
6. CTRL+click on the Alpha Channel to load it as a selection.


7. Select the Move Tool from the toolbox and with the Alpha Channel selected move the selection into the new document where you want the background.


7 . This can also be refined a little and can produce a very nice looking black and white image by playing around with Levels or Curves.


Monday, October 10, 2011

Better Portraits

There’s more to portraiture than just pointing a camera at a person and saying smile.
When making a flattering portrait of a person, you looking to accentuate the positives and minimise the negatives.
Here are a few tips to help achieve this.

Make your subjects Slimmer
A very simple way to make someone look slimmer is with creative posing. Do not to have the person square-onto the camera because it emphasises their width. Also you do not want them side-on, which draws attention to any "protruding parts".
Instead place them at an angle to the camera and have them standing rather than sitting, which also prevents the body slumping down.
If they are sitting, have them sit at an angle to the camera and use the hands and arms to cover body parts like their stomach.

Reduce Ear Size
When photographing someone with ears that are too large or protrude, do not photograph them from straight on as this will make the ears very visible.
Pose them at an angle that is three-quarters to you, so that one ear is hidden. Then make sure the person is facing the light in such a way that the exposed ear is in shadow.

Give Stature
If someone is below average height and you want to make them look taller, shoot from a slightly lower angle.

Large Nose
To reduce the size of a large nose shoot them from a slightly higher angle to help reduce its size. Another method would be to take a lens with a long focal length (from around 100mm up), this will help flatten the nose if its long.
If you do photograph a person with a long nose from an angle do not let the nose line break the line on of the far cheek.
Lighting can also help reduce the apparent size of the nose. Use butterfly lighting (placing the main light straight in line with the direction the face is pointing and slightly higher than the face 25-75 degrees) or loop lighting (placing the main light above the face 25-60 degrees and somewhat to the right or left of the of the direction in which the face is pointing) and in both cases keep the light source soft to avoid harsh shadows and if your subject is a male with protruding ears and short hair Butterfly lighting is best avoided.

Reduce a Double Chin to a Single Chin
To help reduce a sagging chin use a camera angle that is slightly above the line of the cheek and ask the sitter to raise their neck and lean it forward slightly, this will help tighten the skin and pull the chin in.

Help reduce Thinning hair and Baldness
To help reduce thinness on top use a camera angle that is slightly below eye height and/or have the subject tip his head up slightly.
Try to keep the amount of light hitting the top of the head to a minimum and definitively avoid using light sources directly over head (so bouncing the flash off the ceiling is probably best avoided in this situation).

Photographing Subjects with Glasses
Have your subject tilt their head a little or to tilt their glasses forward to reduce reflections coming back into your camera lens. Get them to lean forward, with their arms resting on a table or the back of a chair.
chair.

So next time you are going to take a portrait of someone, just stop for a second and try to think how can I make a more flattering result for my subject.They will thank you for it later.

Wednesday, October 5, 2011

Removing Colour Cast with LAB Colour Mode


LAB Colour mode is a great way to fix a color cast and/or to adjust the luminance in an image.
Follow this step by step guide to try it out.

1. Open your image in Photoshop.
2. Duplicate the image by clicking the Image menu - Duplicate
3. Convert the image to LAB Colour by clicking the Image menu - Mode - LAB Colour
4. If your layers panel is not displayed press F7 to display it.
5. Add a new adjustment layer by clicking the Layers menu - New Adjustment Layer - Levels.

6 . You will see 3 options in the levels dialog - Lightness, a, b

Just a quick Note, I find it helps to start with an end goal in mind before playing with the colours.
  • Lightness - This option does not control the colour but is used to change alter the luminosity in an image. Dragging the slider on the far left (your left) in makes the blacks lighter. Dragging the slider on far right (your right) in makes the whites lighter. Dragging the central slider to the left makes the midpoint darker and to the right makes the midpoint brighter.
  • a (Red - Green) - This option adjusts the Red - Green channels within an image and operates on the same principle as the Lightness Slider above.
  • b (Blue - Yellow) - This option adjusts the Blue - Yellow channels within an image and operates on the same principle as the Lightness Slider above.
7. Once happy with the colour and luminosity changes flatten the image by clicking the Layer menu - Flatten Image.
8. Change the image back to RGB Colour by clicking the Image menu - Mode - RGB Colour
9. At the point I select the whole image, copy it and paste as a new layer in my original as I may reduce the opacity of the LAB adjustment.

Types of Light

There are different types of natural light available to the photographer. Each type of light will produce different results. Knowing and understanding the light you are dealing with will help you achieve better results.

Harsh Light
Found on bight sunny days, when the sun is high in sky.

- This type of light can produce deep rich blue skys, especially when used with powerful flash lighting and under exposing the sky by a stop or two (add a warming gel to the flash and change the colour balance in photoshop to tungsten to enhance the blue even more).
- Lots of light provides the opportunity to use low ISO, small apertures and fast shutter speeds. I use these conditions to my advantage regularly when panning at motor racing events.
- Be aware of the harsh contrast in this type of light.
- Be aware of the harsh short shadows produced by this type of light, especially when photographing people. Using a reflector or fill flash will help reduce these shadows.
- Be aware bright light makes people squint, if possible turn them away from the light.
- Light in these conditions can have a blue colour cast.

Low Light
Found during early morning and late evening on bright days during the Summer months and during Winter days when the sun does not get high in the sky.

- This type of light produces long raking shadows that can give a sense of depth to a picture.
- When used side on this light is great at revealing textures.
- Be aware of the contrast in this type of light.
- Be aware this type of light is very warm and has an orange colour cast.

Diffused light
Found on days when the sun is covered by cloud (pretty common where I live).

- This type of light can help to make beautiful outdoor portraits.
- The light is soft and even, producing soft light shadows.
- People are less likely to squint under this type of light.
- You don't have to wait for overcast days for this type of light. On a sunny day stand your subject in shade (you will physically see the difference when they walk into the shade). Be careful if that shade is a tree, portraits shot underneath a green canopy will inevitably look greener than you expect, but this is easily fixed by increasing the amount of magenta in your colour balance.
- Sometimes this type of lighting condition doesn't produce enough light and you will find you have to use higher ISO, lower shutter speeds and wider apertures.

Flat Light
Found in Mist, fog and early morning.

- This type of light will soften the sharpness.
- This type of light will lower contrast.
- This type of light will help produce an image with a delicate feel to it.
- With the lower contrast and the soft light the cloud cover acts like a giant softbox and there will be little difference between exposure readings taken from sky and land. Shadows will also be very soft.