Tuesday, April 20, 2010

Loughshinny Motorcycle Supporters Club Announce New Sponsor for 2010

The Loughshinny Motor Cycle Supporters Club are delighted to announce a new sponsor for the 2010 season.

The ‘best of the best’ Trophy sponsored by Mr & Mrs Kerr will carry with it a prize fund of 3000 Euros.

The trophy is to be contended for over both Loughshinny Motorcycle Supporters Club organised events the 2010 AON Bikecare Skerries 100 and the 2010 Country Crest Killalane Road Races.
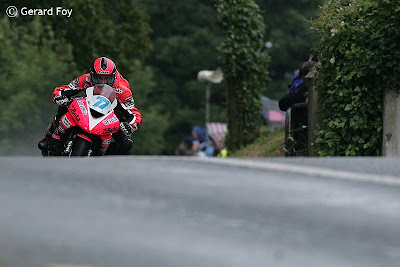

To qualify riders must compete in both events. Points will be awarded to the top 10 riders in the 600cc Championship race, the Open Championship Race and the Grand Final at both events.
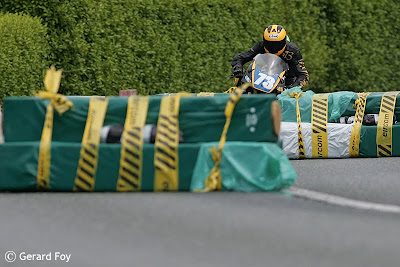
The cumulative totals will be calculated and the 3000 Euro prize fund will be shared between the top three riders, the ‘best of the best’ who have accumulated the most points over the 6 races.

- 1st = 1500 Euro
- 2nd = 900 Euro
- 3rd = 600 Euro

The trophy and prize fund will be presented by Mrs Kerr at the prize awards ceremony at the Killalane Road Races.
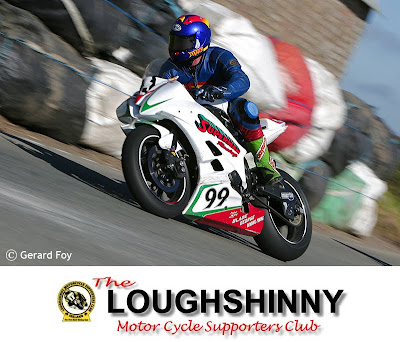
Loughshinny Motor Cycle Supporters Club Ltd
Website: www.loughshinnymotorcyleclub.com email: media@loughshinnymotorcycleclub.com

Friday, April 2, 2010

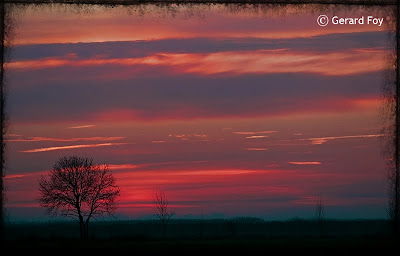
Two for One Grunge Frames in Photoshop.

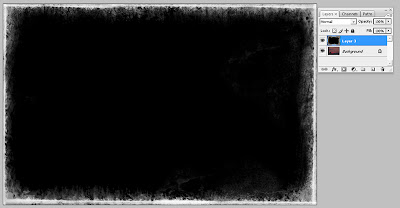
This is a great technique for adding an Grunge Frame effect to an image using Photoshop's Blend Modes. I have created the Grunge Frame used in this example and have provided it for free download below. These Grunge Frames can be anything, you can buy them or create your own like I did. You can create them in Photoshop, draw them and scan them or take pictures of textures, it really doesn't matter. The point is they can be anything once they are converted to be a black and white file.

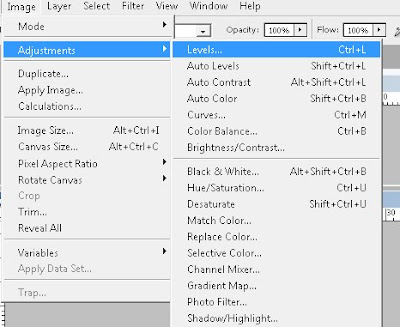
If the file is not one you have created, then when you bring it into photoshop you need to set you white and black points on the file. To do this you need to click Image/Adjustments/Levels from the menu bar.


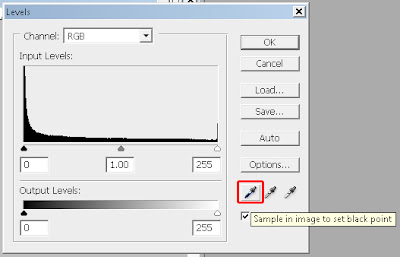
To set the black point click your Black Point dropper.


Select and click on a part of the Grunge Frame you want to be black.
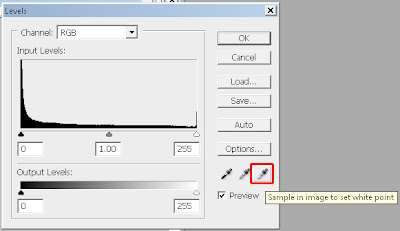
To set the white point click your White Point dropper.


Select and click on a part of the Grunge Frame you want to be white.

Once you have your Grunge Frame ready for use you press CTRL+A to select it. CTRL+C to copy it.
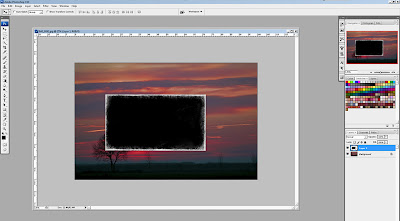
Open the image you wish to use the edge file on and once it opens in photoshop paste the Grunge Frame on top of the image by pressing CTRL+V.


If the Grunge Frame is too small or too large for the image underneath then we need to change the size of the edge file. To do this press CTRL+T to bring up the free transform tool. Then drag the handles of the Grunge Frame to cover the whole of the image file. Once you get it the way you want press Enter on your keyboard.


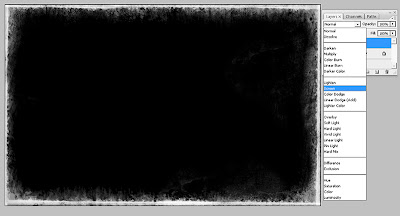
Now all we need to change is the blend mode of the top layer to display our image underneath. As the primary colour of the Grunge File is black we want everything that is black to be ignored from the top layer. To do this select the Screen Blend Mode.


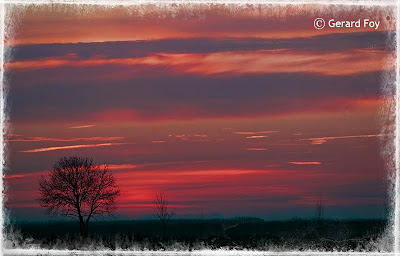
When the Blend Mode is Changed to Screen.


Pretty Cool!

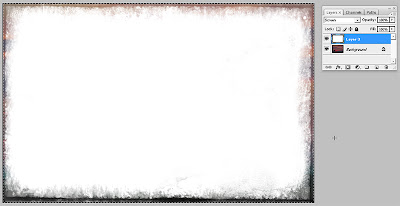
But what if we want black out the outside the what on the inside? Well its very easy. Select everything in the upper layer (our edge layer) by pressing CTRL+A on the keyboard. When everything is selected press CTRL+I on the keyboard.


Again we are going to change the Blend Mode of the upper layer to ignore the white letting the image underneath appear. Set the Blend Mode of the upper layer to Multiply.


So there you have it. With every Grunge Frame you create you get one for Free, just invert the layer the change the blend mode, it couldn't be easier.

Click Here to download your free High Res Grunge Frame.


Article including images copyright of Gerard Foy Photography.
www.gerardfoy.com